
Quick answer
DIY lashes usually consist of small lash clusters that are applied at home using a specific Bond & Seal system. Start with clean, dry natural lashes, use small amounts of product, place the clusters without contact with the skin or waterline, and always remove them with the designated remover – never by pulling.
A great-looking DIY set relies more on planning and light layers than on the maximum amount of product. Choose a simple length map, work from an area where you can see well, and check for comfort after each cluster.
For whom: Consumers who want to use multi-day cluster lashes at home · Read time: approximately 8 minutes
What you need
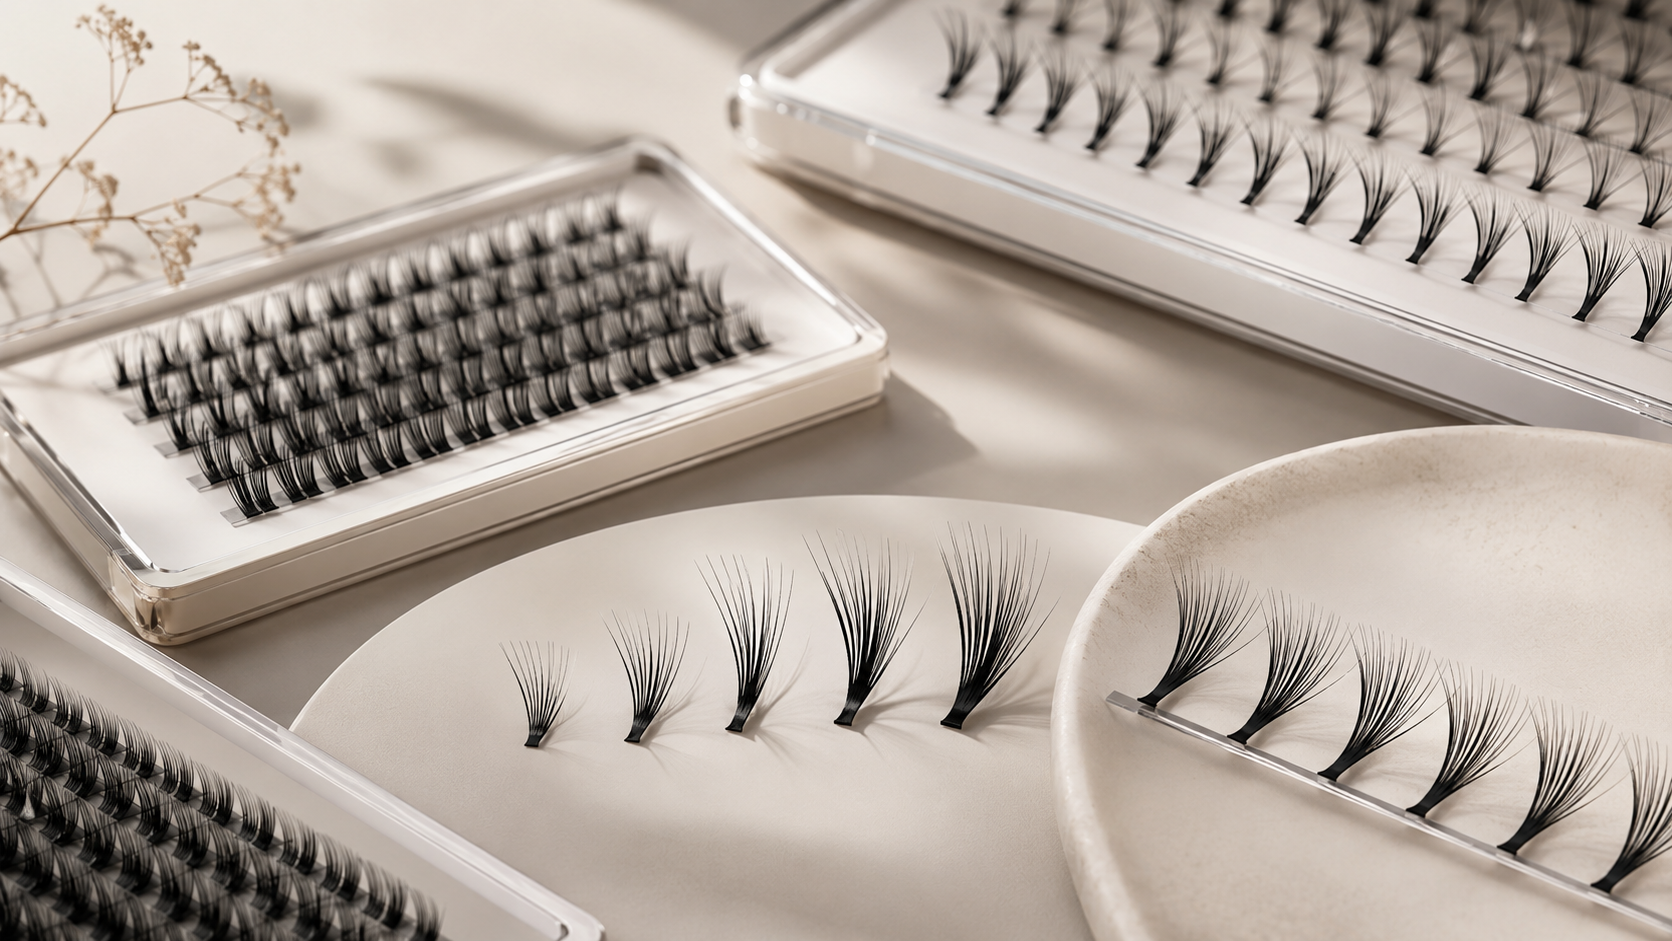
Lash clusters
Choose a mix of lengths that suits your eye and the look you want to create. Shorter clusters make transitions smoother.
Bond & Seal
Bond provides adhesion and Seal reduces tackiness according to the product's instructions. Do not use professional eyelash extension glue at home.
Applicator
A tool designed for clusters provides better visibility and control than fingers or an unsuitable pair of tweezers.
Remover
The dedicated remover dissolves the system so the clusters can slide off without you pulling on your natural lashes.
How to apply DIY lashes
- Prepare. Remove makeup and clean your lashes. They should be completely dry before you start.
- Plan. Arrange the clusters in order before application. For a soft design, lengths can increase gradually and then balance out towards the outer corner of the eye.
- Apply Bond sparingly. Follow the instructions for your system. Too much product easily creates stickiness and clumping of the natural lashes.
- Place the clusters. Attach one cluster at a time to the natural lashes without skin contact. Leave space to the waterline.
- Check. The clusters should feel comfortable, lie in the same direction, and not pinch or pull.
- Seal. Use Seal according to the system's instructions and avoid oversaturating the lashes.
Three simple DIY mappings
| Look | Length principle | Good to keep in mind |
|---|---|---|
| Natural | Shorter on the inside, soft increase toward the middle, slight tapering on the outside | Small steps between lengths provide a cohesive result |
| Open eye | Longest near the center of the eye | Place the peak around the iris and taper down on both sides |
| Soft cat eye | Gradually longer toward the outer third | Avoid placing the longest cluster at the very end if the eye tends to look dragged down |
Frequently asked questions
What are DIY lashes?
These are small lash clusters for home use that are applied with a consumer system, often Bond & Seal, for a longer-lasting result than regular strip lashes.
How long do DIY lashes last?
This depends on the product, application, aftercare, and individual habits. Follow the specified usage time and remove them sooner if the lashes feel irritating or become dirty.
Can you use salon lash glue at home?
No. Professional extension glue and its fumes require training, risk assessment, and controlled application on a client with closed eyes.
Where should the clusters be placed?
They should attach to the natural lashes according to the system's instructions and not rest against the skin or waterline.
How do you remove DIY lashes?
Use the designated remover, let it dissolve the bond, and remove the clusters without pulling on your natural lashes.