Tips for eyelash extensions
Glass lashes & Glass hair, what is it?
You have surely encountered a customer who has reached out because their extensions are falling off relatively quickly. You apply new lashes and the same thing happens again. Or, the extension simply will not attach to the natural lash no matter how hard you try. In that case, the customer may have so-called glass lashes. The lashes have a smoother surface and almost no hair cuticles (structure), which makes it difficult for the extension to adhere no matter what you do. However, there is a method that can help it adhere better.
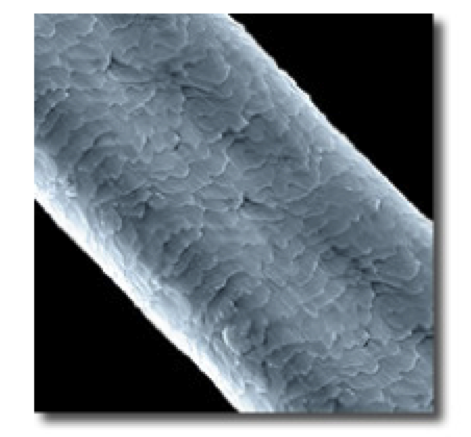 This is what a hair strand looks like under a microscope. If one has glass lashes or glass hair, these cuticles/structure seen in the picture are missing. Glue adheres to an uneven surface; in other words, if the lash lacks cuticles, the surface is smooth and the extension with glue will have a harder time adhering.
Either use a primer on the customer's lashes or, in rare cases, mix a small amount of baking soda and water and brush it onto the natural lashes before applying the extensions. The lashes will then develop a structure formed by the baking soda, which makes the extension adhere better. Get into the habit of looking at your customer's lashes carefully before treatment; often a primer is sufficient, but sometimes you may need to test the baking soda method. However, use the baking soda method with caution!
Do this:
Clean the customer's lashes as usual with, for example, foam cleanser or just an oil-free cleanser for lashes, rinse off the foam/cleanser with lukewarm water, apply eyepads, and then take a small cup and pour in a little water and baking soda (it should be a gritty, watery mixture). Then dry the customer's lashes with either a microswab or applicator brush. Let the lashes dry a little before you start applying the extensions.
You can also make this mixture in a foaming bottle with an oil-free cleanser, but keep in mind that you can only use it once, so you cannot save the mixture for another customer. You must rinse out the bottle thoroughly when you are done; otherwise, the baking soda will harden in the bottle. Mix about 1 1/2 teaspoons of baking soda in the bottle (50ml), make sure the baking soda dissolves in the cleanser, then clean as usual with the foam cleanser.
If you do not want to make the mixture in the foaming cleanser, you can mix water and baking soda in a small container. Use 2 parts water and 1/2 part baking soda. For example, 2 krm (pinch/small measure) of water and 0.5 krm of baking soda, then mix it together. Apply to the customer's lashes after you have attached the eyepads. Let dry a little and then attach the extensions as usual. NOTE: it is extremely important that all baking soda is mixed with the water. If not, it can cause irritation and potentially damage to the customer's lashes/eyes.
Removal without remover
When a customer comes in for a refill, if there isn't too much glue, you can remove most extensions without remover. BUT this requires you to be extremely careful.
Find an extension you want to remove, wiggle it a little, then grab the natural lash with one pair of tweezers and carefully pull the extension away with the other. If it is attached too firmly, you cannot pull it off; then you must use remover. However, if the extension has only been attached at the base/root of the extension, this is easy to do. But make sure you hold a firm grip on the natural lash before you pull away the extension.
Setting a base
Why should you start by setting a base? Well, if you first set a base with the lengths of extensions you want to use, it facilitates the work when you then apply the rest of the lashes. Set the base on both eyes so you see that you have used the same length and in the same place; make sure all lashes sit straight. Then fill in with the remaining lashes in their respective lengths. If you find it difficult to see which lengths you have used, use our eyepads with markings or write on the eyepads you have placed on the customer's lower lashes.
Right amount of glue
For an extension to sit correctly, one should use the right amount of glue. You need very little glue. You should keep in mind that the glue should only go about 1 mm onto the extension. That is, if you slide it into the glue bead, you should only pull the extension in 1 mm and then that is enough. If you scoop, the same applies here. No more than 1 mm onto the lash. When you then attach the lash, it is sufficient to attach it at the base. You absolutely do not need to brush it along the entire natural lash; just ensure you have the right amount of glue on the extension (you should have a tiny, tiny bead of glue on the extension about the size of a pinhead) and then attach the lash to the natural lash using either "press and attach" or "rub and attach." Then it will stay put like a rock and will definitely not come off.
Cleaning
We probably cannot emphasize enough how important cleaning the lashes is. When the customer arrives, start by cleaning the customer's lashes with an oil-free cleanser. Take some foam cleanser/cleanser on a makeup brush and carefully clean around the entire eye all the way up to the eyebrow; make sure to clean between the lashes and also under the eyes. If the customer has makeup and foundation, everything must be removed, so just repeat the cleaning until you see that everything is gone and the cleanser foam is still white when you finish. Clean one eye at a time, and when you have cleaned with the oil-free cleanser, it is time to rinse off the foam. Take a small towel or piece of paper and hold it to the side of the customer's eye, roughly above the ear, so the cleanser does not run down into the customer's ear. Tilt the customer's head toward the side you are cleaning the eye on; for example, if you are cleaning the right eye, tilt the customer's head slightly toward the right and hold the towel or paper to the side of the eye, then pour some lukewarm water with a small dropper bottle onto the customer's eye so that all cleanser disappears. If there is a little sparkling between the lashes, there is cleanser left and you need to rinse a little more with the water. Pat dry with the paper on the customer's eyelid and under the eye. Repeat the same thing with the other eye.
A tip: after you have rinsed clean with lukewarm water, take some lens solution/saline on a microswab and wipe the lashes. This acts as a primer, and after doing this, the lashes are clinically clean and you can start attaching the lashes immediately.
Different curls & Materials
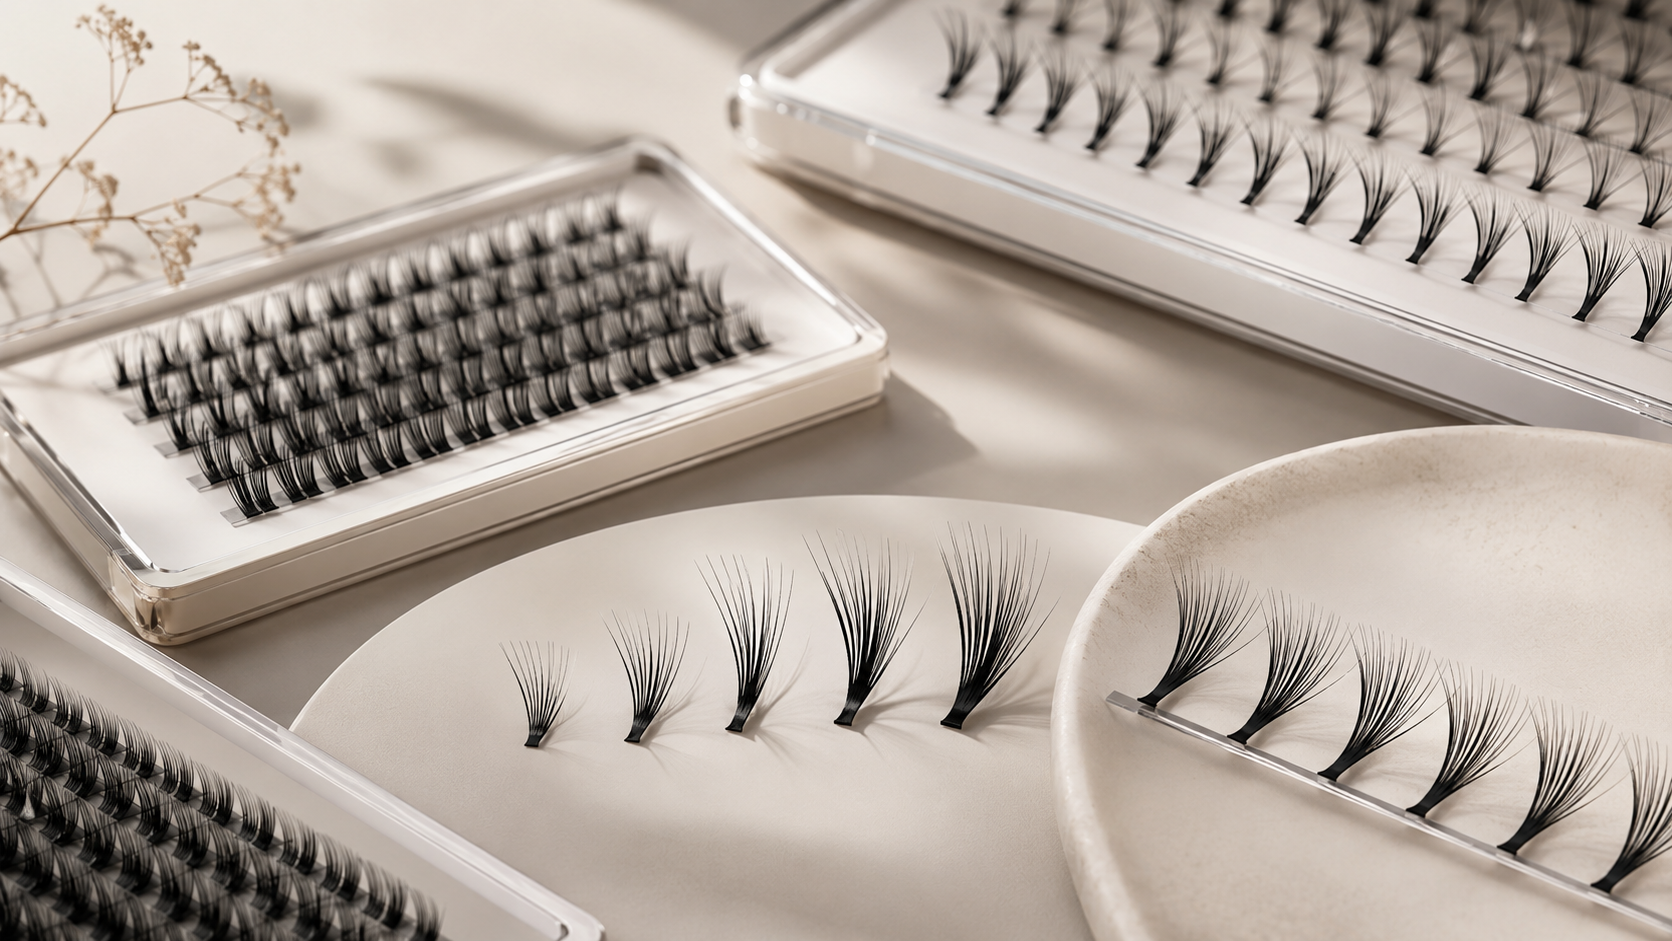
The different lashes can be loose in a bag or attached to a strip in a so-called "tray".
Silk lashes
Are light and flexible. These are very common in eyelash extensions as they were the ones that came first. The silk lash tapers at the tip of the extension, and you get a natural yet "done" look with these.
Faux Mink
Are made to be as similar to genuine mink lashes as possible.
It has a deeper color and tapers after 1/3 of the lash, which gives a very dainty look. It has a more intense color than the silk lash and feels a bit softer and slightly more natural.
Colored lashes
Are lashes that have been colored to get an intense and nice color. They are available in all different colors such as red, blue, purple, pink, green, yellow, orange, brown, white, etc. There are colored lashes in thicknesses from 0.07-0.20mm.
Glitter lashes
Are lashes that have been prepared with a layer of glitter. There are glitter lashes in different colors of glitter such as silver, gold, blue, red, purple, green, etc. These are common to use for special occasions, as the glitter only sits on the lash for a few days. When the glitter has fallen off, the lash is black.
Two tone / Ombre Lash
Are lashes that have 2 colors. They have a base that is black and then about half the lash is in a color. If you use these, you can get a different look on the lashes, and it turns out very nice! Available in thicknesses from 0.10-0.20mm.
Different curls
The different curls available are J, B, C, CC, D, DD, L, L+ and M-curl.
J has the least curl and L+ is the one with the most curl.
The lashes are available in thicknesses from 0.05-0.30 mm and in lengths from 6-20mm.
Different looks for eyelash extensions
We always customize the eyelash extensions for each customer. This means that we agree together on what will be best for you. There are different ways to shape an eye, and what "look" it becomes depends on what you as a customer desire.
Why one gets an eyelash extension differs from person to person; perhaps you want longer lashes or want to avoid applying makeup every day. The reasons vary, and that does not matter, because regardless of the reason why you want an eyelash extension, we can do it for you, provided you have your own natural lashes.
An eyelash extension can give you these effects;
- A more open and brighter-looking gaze
- The appearance of larger eyes
- The ability to give the eye a different shape with the help of how the lashes are attached.
- Fuller and longer lashes
- Look made up, avoid using mascara
- Lengthening and sweeping
"More open/brighter gaze"
If you apply the longest lashes in the middle of the eye and the shorter lashes in the inner and outer corners of the eye, you get a more open gaze; you look brighter, and it also rounds out the eye. This method can, for example, suit an eye that is almond-shaped.
"Cat-eye"
If you apply the shorter lashes in the inner corner of the eye and longer lashes in the middle of the eye, and finally finish with a few extra long lashes on the outer edge, you get a lengthening and sweeping look.
"Maximally enlarged"
If you set a length as a base and then place a few long ones over the entire eye, you get an enlarging effect of the eye. A look that gives you an enlarging and more open gaze..
Tips for your glue
- You can moisten a cotton pad and place it on top of the gel pad that is on the customer's lower lashes; this makes the glue dry a little faster and it is perceived that there are fewer fumes.
- Use primer to dry out the natural lash a little. This gives you a little more time to attach the extension.
- Take care of the glue in the bottle; only take out the amount you need for each customer before you start the treatment, so you do not need to open the glue bottle during the treatment.
- When you shake the glue bottle, remember to check that no glue gets stuck in the cap. It can make it difficult to get the cap off later. It is possible to put a piece of foil over the glue bottle before you shake it, so you can shake without a cap and avoid the problem with hard-to-open bottles later.
- To remove fumes that can be created by the glue, you can either blow a little on the lashes with a fan or use a Nano mist when the treatment is finished. Then the customer will not feel any fumes. Nano mist is available in the webshop!
All tips and tricks provided by Bellestore are given for the purpose of helping trained lash stylists and are used at your own risk. Therefore, you must be authorized to use the products sold on this website. Bellestore is not responsible for any damage or compensation if an untrained lash stylist uses our products.